Содержание
Custom Protocols
Protocols/signatures available to the user are divided into the following types:
- Built-in protocols — updated along with the SSG software version. Installing a new version requires a DPI reboot, which causes traffic interruption.
If needed, they can be supplemented with up-to-date attributes from the VAS Cloud. This is only necessary for complex protocols, but the option is available for all. - Cloud protocols created by VAS Experts — are periodically updated from the VAS Cloud. This ensures that popular applications remain up-to-date as their behavior changes.
- Custom (user-defined) protocols — protocols created by users via the GUI using VAS Cloud tools. These have higher priority than those loaded from the VAS Cloud, and within them, IP:PORT takes precedence over IP and CIDR. It is possible to add a protocol based on IP, SNI, or AS.
Users can add protocols based on IP, SNI, and AS. Custom protocols override Built-in and Cloud protocols.
Adding a new protocol is done in the VAS Cloud Services → Custom Protocols section in 3 steps:
Step 1. Adding a New Protocol
 On the Protocols panel, you can:
- Add list item.
- Fill in the following parameters:
- Name — a mandatory field. It must contain only letters, numbers, or their combinations. Each name is automatically prefixed with “cp_” (CP stands for Custom Protocol), which is mandatory;
- Custom Number — a mandatory unique field, limited to the range of 1 to 1024;
- Port — filled in automatically;
- Description — an optional field;
- Main List — if this parameter is ignored, the default list type is “test.” The flags “main” and “test” are used for debugging the protocol (“test”) and subsequently launching it for policing subscribers (“main”). Usually, the test protocol is first uploaded to the DPI test stand, and after debugging is complete, the “main” flag is set, and it is uploaded to all other DPIs.

- Enable or disable the protocol.
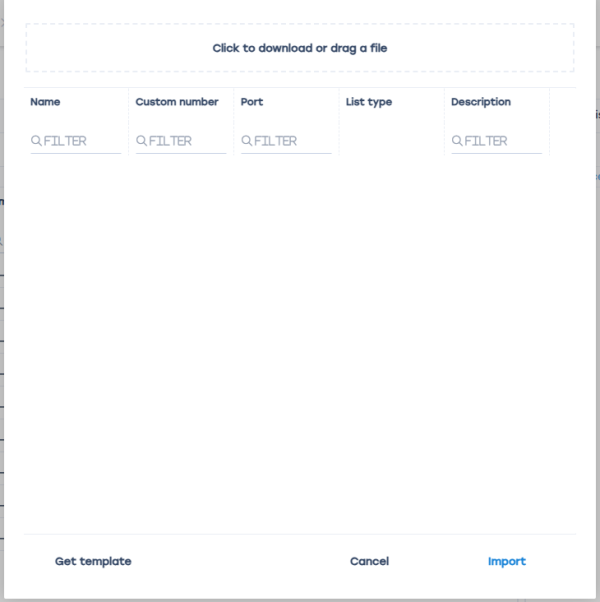
Performing any actions with a disabled protocol (step 7) automatically activates it. These changes are also reflected in the main section of the “User Interface” as an activation button next to the “Name” column of each protocol in the list. - Import data from a file.
To facilitate the completion of the protocol creation fields, a template is provided that can be exported in Excel format, filled out, and uploaded in this window. After uploading the file, the data cannot be changed; only the protocol can be deleted.

- Delete an item from the list.
- Clear the list.
- Refresh the list.
- Enable and disable list items.
- Modify a list item.
- Export the list. Available formats: Excel, CSV, PDF, PNG.
Step 2. Add Resources Defining the Protocol
 On the Resource List panel, you can:
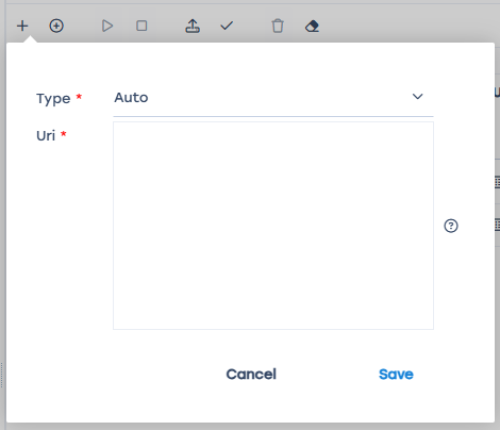
- Add list item.
Fill in the following parameters:- Type — a mandatory field, filled by selecting from the offered list (Auto, IP, SNI, ASN (only external AS can be specified, e.g., Facebook or Google));
- URI (Uniform Resource Identifier) — a mandatory field, how to fill it depends on the type of resource (IP or SNI);
Example:
Type IP — 201.1.1.1.
Type SNI — google.com.

- Enable or disable the resource.
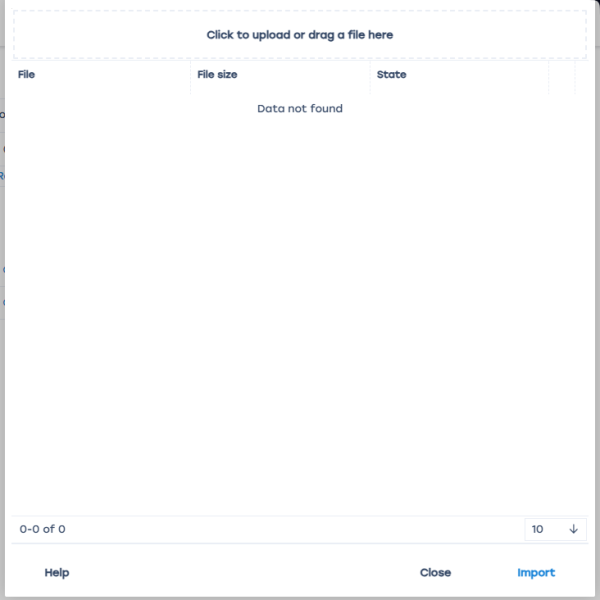
Performing any actions with a disabled protocol (step 7) automatically activates it. These changes are also reflected in the main section of the “User Interface” as an activation button next to the “Name” column of each protocol in the list. - Import data from a file. and Check resource.
To facilitate the completion of the protocol creation fields, a template is provided that can be exported in Excel format, filled out, and uploaded in this window. After uploading the file, the data cannot be changed; only the protocol can be deleted.

- Delete list items.
- Clear the list.
- Refresh the list.
- Enable and disable list items.
- Modify a list item.
- Export the list. Available formats: Excel, CSV, PDF, PNG.
Step 3. After Preparing the Protocol, It Needs to Be Uploaded to the DPI Devices from the List.
Adding and removing devices from this list is not allowed.

On the Hardwares panel, you can:
- Refresh the list.
- Enable and disable list items.
- Edit a list item.
- Export the list. Available formats: Excel, CSV, PDF, PNG.
Logs
In VAS Cloud Services → Logs section, you can view all actions performed with protocols. You can delete specific entries, clear the list, refresh, and export it in formats Excel, CSV, PDF, PNG.
